Easy and Effective Ways to Clean Tile Floors

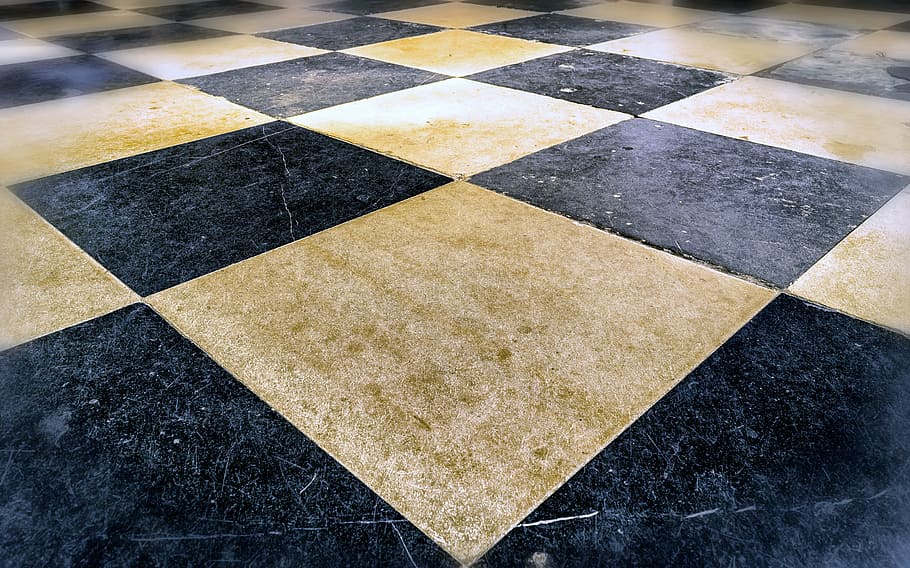
The kitchen and bathroom floors are not fully cleaned until the floor is scrubbed properly. Luckily, you don’t need to do this every day, but it is important to keep an eye on the tile floors of your kitchen and bathroom for any sign of stains and dirt. A dirty grout or a hazy fil are signs that the tiles need cleaning now. The tile is made of ceramic, vinyl, or stone, and it needs proper cleaning techniques to look better and last longer. This article will tell you How to clean tile floors and how often to clean them?
How Often to Clean Tile Floors?
To keep your tile floors looking clean and shiny, both dry and wet cleaning schedules should be followed.
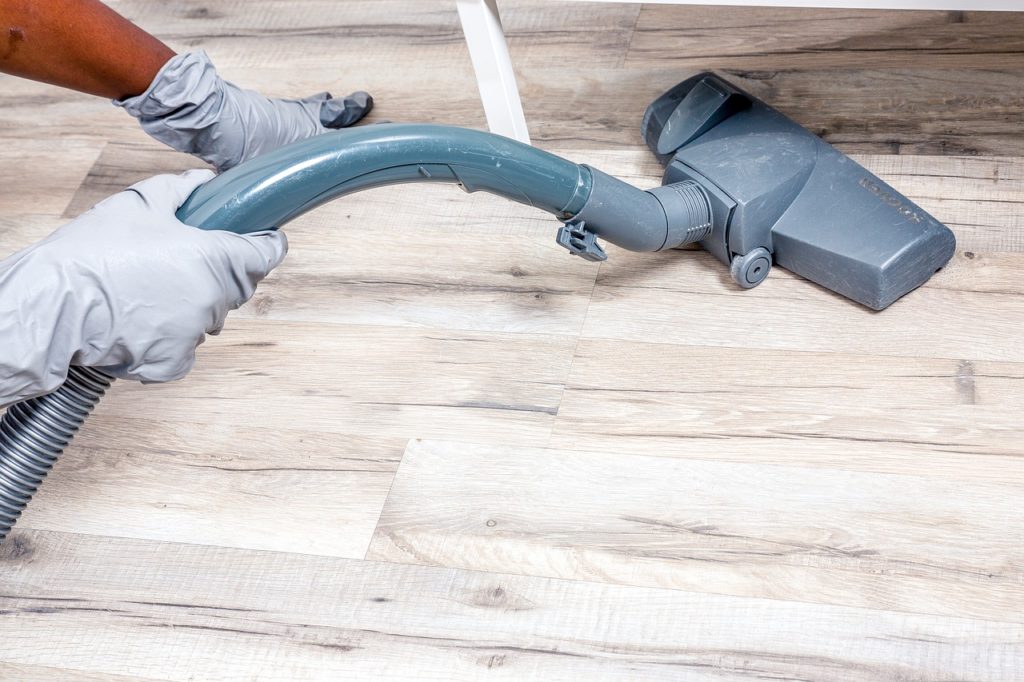
- Dry clean: sweep or vacuum the floor twice a week or whenever you see dust and debris lying around. A vacuum with soft bristles can be used on every kind of tile floor, but you may find it difficult to clean in corners or tight spaces, try to sweep with a hand broom in those areas.
- Wet clean: you should mop your kitchen and bathroom tile floor once every week to prevent germ buildup. Spot clean grout twice every month or whenever it starts looking dingy.

What You Need to Clean Vinyl Tile Floors?
Vinyl floors are not waxing floors. Applying cleaner or wax can damage the finish.
Things required:
- Commercial vinyl floor cleaner homemade cleaner
- WD-40 (optional)
- Rubbing alcohol (optional)
- Baking soda (optional)
Tools required:
- Broom, dry dust mop, or vacuum
- Old cloth
- Sponge
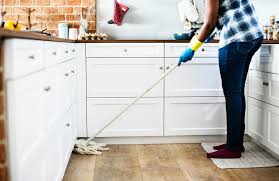
- Wet mop
- Two buckets
Instructions to clean Vinyl Floors
- Sweep First Then Mop
Sweeping or vacuuming is very important; you should not neglect this before mopping. If you do not sweep, you will end up swishing the grime everywhere while moping the tiles.
- Tackle Tough Stains
After sweeping, first, tackle the hard-to0remove stains before you start mopping.
- For Lipstick, paint, crayons, and ink: apply to rub alcohol with the help of a sponge over the stain directly. Allow it to sit for five minutes and then wipe using a clean sponge.
- Scuff marks: to remove scuff marks, spray some WD-40 on a clean cloth and rub it away.
- For Dried-on food spills: make a thick paste of water and baking soda. Apply this paste directly onto the messy area and rub the mixture with a damp towel.
- Prepare Cleaning and Rinse Solutions
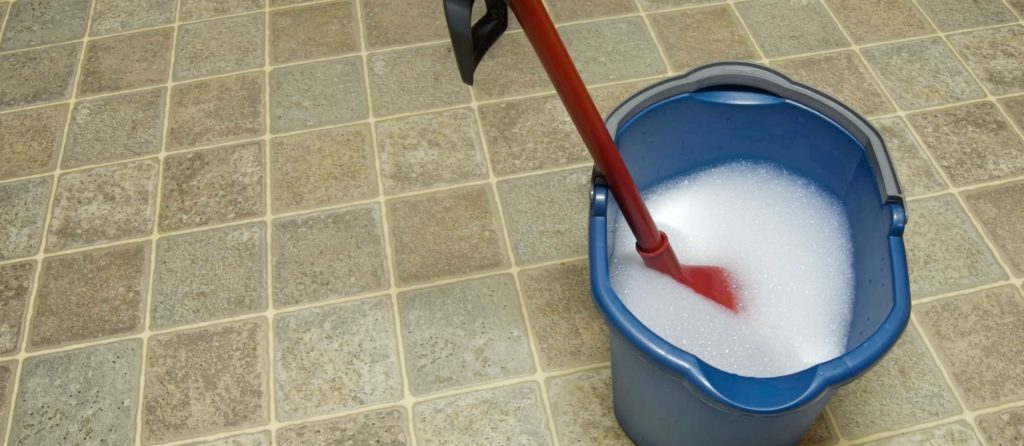
If you use a commercial cleaner, then follow the instruction mentioned on the label to know the correct amount of product to be used in the mop bucket. You can use hot water; it works best to eliminate sticky and greasy stains. Put clean water in another bucket to rinse the dirty mop. If you mop the entire floor with a dirty mop, it may leave soil and dirty behind.
- Don’t Flood the Floor.
When you dip the mop into a cleaning solution or rinse in the bucket, make sure to give a good squeeze before taking it out. You wouldn’t want to flood the tile floor with water. Vinyl tile floors should not be drenched in water. Excess water may settle in the tile seams and make the edges curl.
- Correct a Waxing Mistake
If the floor looks dull after you have used a waxy cleaner, you can mix a one-to-one solution of water and household ammonia. Remember to keep the room nicely ventilated. Apply the solution in small sections to the floor using a mop and allow it to sit for 10 minutes. Scrub the waxy cleaner using a soft-bristled brush and rinse the area with plain water. Repeat the process until the floor looks shiny again.
Read More– How To Clean Shower Doors?
How to Clean Ceramic and Natural Stone Tile Floors?
Ceramic and natural stone tiles are more durable than vinyl floor tiles. These are mostly scratch-resistant, easy to clean and come in many design options to suit your decor. The only problem is that the gaps of crevices between the tiles get filled by grout.
Things You Will Need
Supplies
- For ceramic tile floors: dishwashing liquid or Commercial all-purpose cleaner
- For natural stone tile floors: Non-acidic, alkaline-based cleaner
- hydrogen peroxide, Baking soda, or oxygen-based bleach powder
Tools
- Broom, dry dust mop, or vacuum
- Wet mop
- Two buckets
- Stiff-bristled brush

Instructions
- Get Rid of the Loose Dirt
- The first step is to sweep or vacuum the tile floor, or you can also dry dust to remove loose dirt or grit.
- Clean Stained Grout
If the grout is not sealed, it will attract dirt, which is difficult to remove by mopping. Many products get rid of soil and whiten or brighten the grout. Apply cleaners one at a time and scrub the grout line using a stiff-bristled brush.
- Baking soda and water: you need to make a thick paste by mixing water and baking soda. Apply this paste on grout lines using a finger or toothbrush. Use a stiff bristle brush to scrub the soil.
- Hydrogen peroxide: using an eyedropper, apply the hydrogen peroxide in the grout lines. Allow it to sit for at least 10 minutes, and then scrub away the grout.
- Oxygen-based bleach: you need to make thick water and oxygen bleach paste. Spread the mixture along the grout lines properly and allow it to sir for 10-15 minutes. Scrub the mixture to lift away the soil from gaps.
- Wet Mop
You should use a cleaner made for your type of tile floor. Follow the instructions on the cleaner label and mix it with water as per the directions. Always use less clean. When an excess product is left on the floor, it can make the floor sticky and can even attract more soil.
Rinse the Floor
After you mop, the cleaning solution rinses the mop nicely and then uses plain water to wash away any cleaner residue that may have been left behind. Let the floor air dry.


